An iframe, short for “inline frame,” is an HTML element that embeds another HTML document within the current document. It allows you to display content from a different source or webpage within a specific section of your webpage. In simple terms, an iframe creates a window or container within a webpage where external content can be loaded and displayed.
When you use an iframe, you specify the source URL of the content you want to display. This can be a webpage from the same website or a completely different website.
One common use of iframes is embedding videos from platforms like YouTube or Vimeo onto a webpage. By using an iframe, you can insert the video player and display the video content directly within your site. Additionally, iframes are often employed to include advertisements, social media feeds, maps, or other external content within a webpage.
You can easily add and customize an iframe in your WordPress content using source code. If you’re using Elementor to build your website, you’ll be pleasantly surprised by how straightforward it is to insert an iframe onto your page. Here are two simple options that allow you to effortlessly incorporate iframes using Elementor.
Elementor is a popular and free page builder plugin for WordPress websites. It simplifies the process of designing webpages without requiring any coding knowledge.
Table of Contents
ToggleHow to embed Elementor Iframe by using shortcode?
Elementor is a free page builder plugin designed for WordPress websites, making webpage design easier for those without coding knowledge.
With the free version of Elementor, you can embed a video iframe into your pages and posts using the Shortcode block. However, it does not support displaying external web pages within the iframe. Here is a simple guide to creating an iframe using Elementor:
- Activate Elementor Page Builder: Ensure that you have installed and activated the Elementor page builder plugin on your WordPress site. This step is necessary before you can start embedding iframes.
- Create or Edit a Page/Post: Go to the Pages or Posts section in your WordPress dashboard. You can either create a new page or edit an existing one where you want to add the iframe.
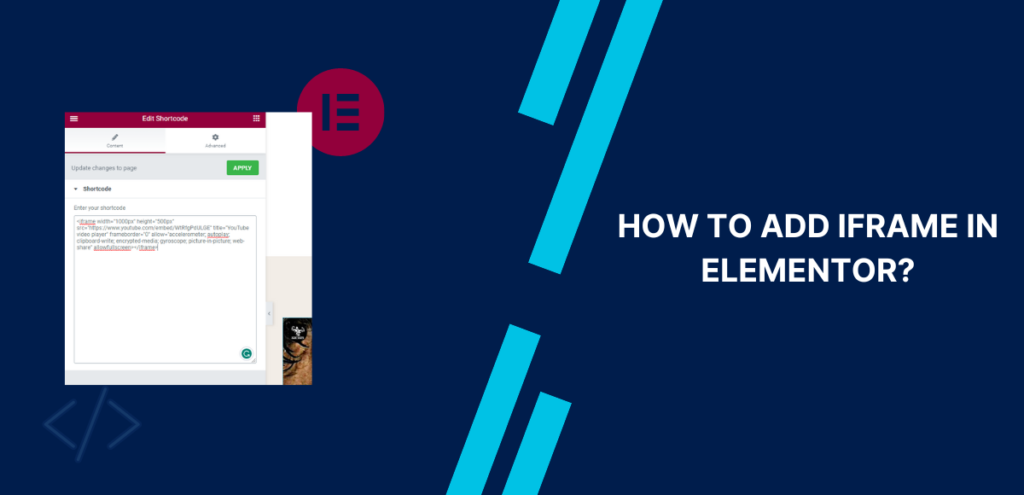
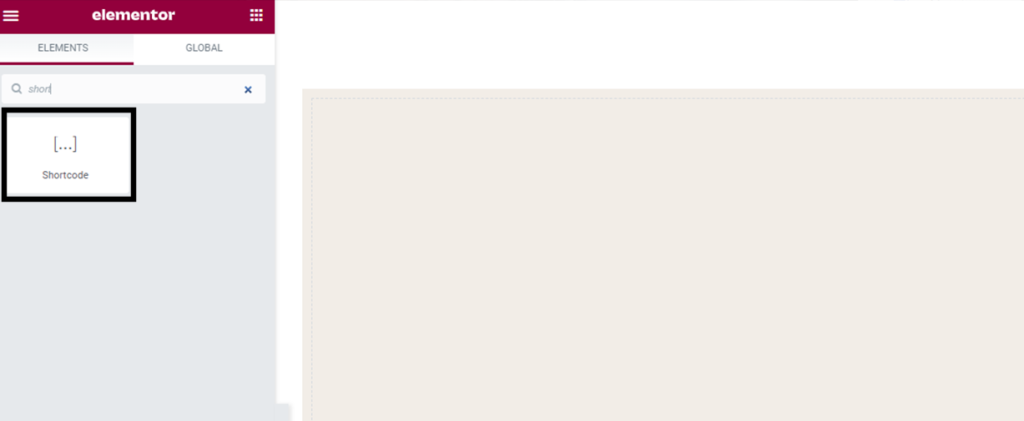
- Add the Shortcode Block: Within the Elementor widget section, locate the “Shortcode” block and drag it onto your page. Look for the “pen” icon within the shortcode widget and click on it to edit the shortcode.
The next step is to obtain the iframe shortcode of your video and paste it into the widget. If you are planning to display a YouTube video, you can follow these steps:
- Open the desired video on YouTube.
- Click on the Share button located below the video.
- From the options that appear, select Embed.
- A source code for the video will be displayed. Copy the entire code.
- Go back to the Elementor shortcode widget that you created earlier and paste the copied source code into it.
- If needed, you can modify certain values within the code, such as the height, width, and border of the iframe, to adjust its appearance.
By following these steps, you will be able to retrieve the iframe shortcode for a YouTube video and insert it into the Elementor shortcode widget for seamless display on your webpage.
How to Add an Elementor iFrame using Iframe Widget
To embed content types other than videos in Elementor iframes, you can utilize the Iframe Widget add-on. Here’s what you need to do:
- Purchase and download the Iframe Widget add-on from the Element Pack website.
- Access the Plugins section in your WordPress admin dashboard.
- Click on “Add New” to proceed.
- Select the “Upload Plugin” button and choose the downloaded plugin file.
- Once the add-on is activated, a new block called “Iframe” will be added to your Elementor widgets.

- Open the page where you want to create the iframe and drag the Iframe block into the desired content area.
- In the “Content” tab, enter the URL of the page you wish to embed in the “Content Source” section.
- You have various styling options available, such as setting the iframe height, enabling lazyload settings, allowing full-screen mode, and displaying scroll bars.
- Additionally, you can customize the iframe’s border. The Border settings section in the Advanced tab allows you to choose the border color, radius, and shadow.
- That’s it! You have successfully added and customized the iframe using the Iframe Widget add-on in Elementor.
Conclusion
In conclusion, this article has explored the process of embedding iframes in Elementor, providing readers with a comprehensive understanding of how to effectively utilize this feature. By following the step-by-step instructions and utilizing the recommended tools such as the Iframe Widget add-on, users can effortlessly integrate iframes into their Elementor-built websites. Whether it’s embedding videos, displaying external webpages, or incorporating other content types, Elementor’s flexibility and the guidance provided in this article enable users to enhance their website’s functionality and design. With the knowledge gained from this article, readers can confidently leverage iframes to create engaging and dynamic web pages using Elementor.
Surinder Sahni is the founder of WPGuiders, a website dedicated to providing quality WordPress tutorials, guides, and reviews. With a passion for technology and a desire to help others. In addition to running WPGuiders, Surinder enjoys spending time with his family, traveling, and staying up-to-date with the latest developments in the WordPress community.


